

This article will explain to you how to use clashes on Android. Please refer to this article until it's finished and make sure nothing is missed step by step.
The clash itself is an application that supports several protocols, almost the same as other injection applications such as SagerNet or Napternet. But what distinguishes it, in this application we are more free to use several options such as load balance, best ping, etc. But free means we can easily use it.
How to use clashes on android
To make a configuration of Clash, you can use SSHKIT subconverter, where your account will automatically be converted into the Clash configuration file (YAML). So you don't need to bother manually editing the configuration file again.
Step 1: First Create a VMESS or Trojan account from FASTSSH.com, SSHKIT.com or Howdy.id Web.
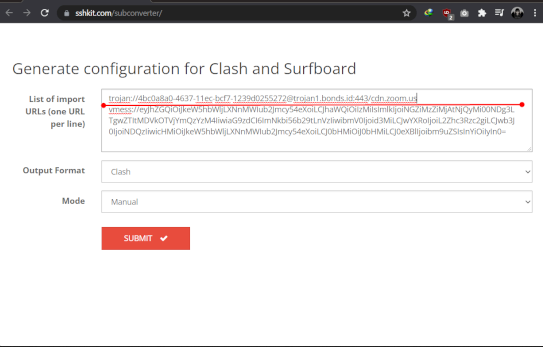
Step 2: After creating an account, open the SSHKIT subconverter website. Then paste the account you have created, provide distance between one account and another.

Step 3: Then please select the Mode you want to use, for the types there are several types, including:Manual: Select an account manually.
Load Balance: Move accounts automatically if other accounts use too heavy.
Best Ping: Selects the account with the smallest ping.
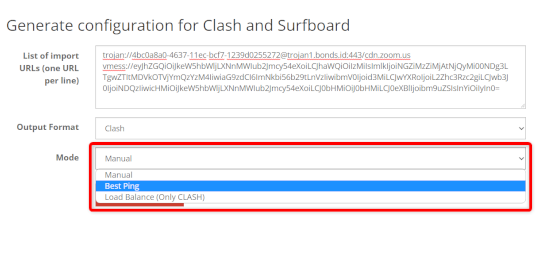
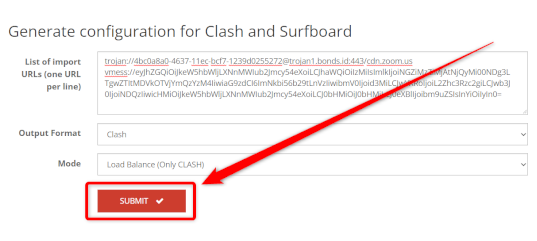
Then click Submit.
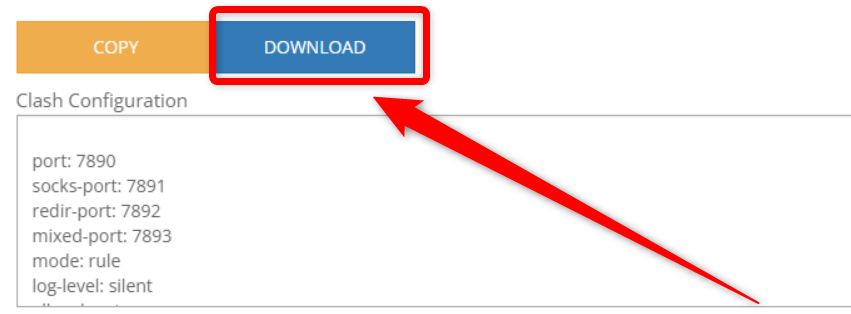
Step 4: Click Download at the top of the config. Done.
Import Config Clash to Clash For Android
After finishing making the clash config, you need to import the config earlier to CFA (Cflash For Android).
Step 1: First download the Clash For Android application using the link below:

Step 2: Open the CFA application, then click Profile. Then click the + sign on the Profiles menu.
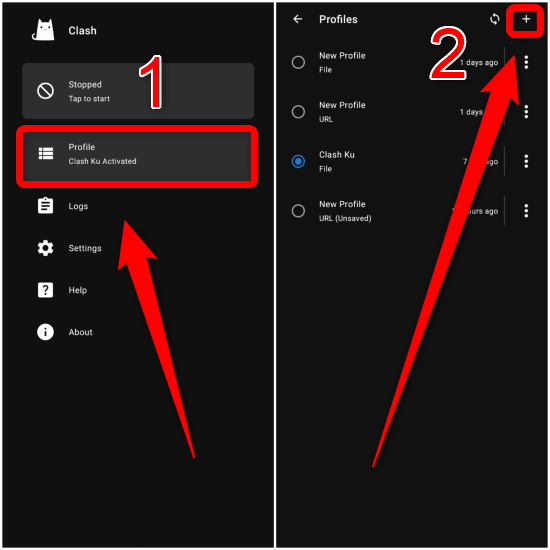
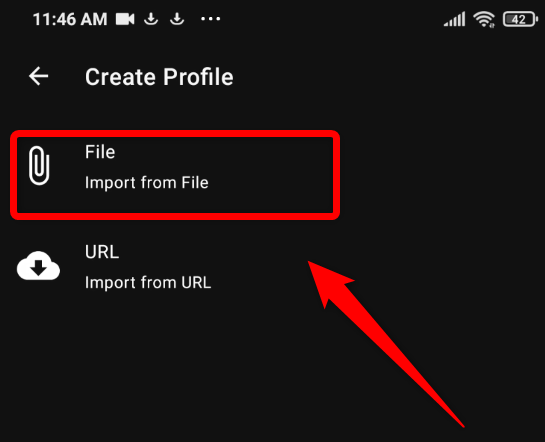
Then click FILES.
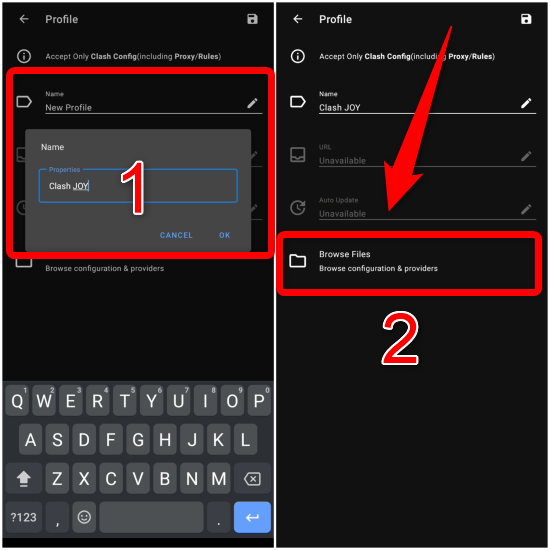
Step 3: In the next menu change the name of your config file. After that, click Browse Files.
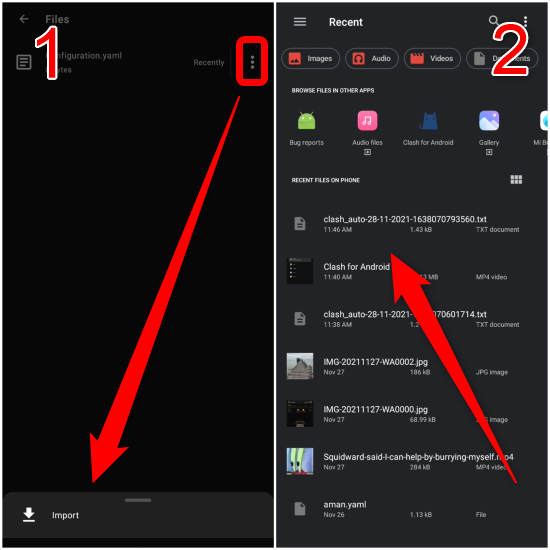
Step 4: Then click the three-dot menu on the Configuration.yaml sample then click Import then select the file that you downloaded in the previous step.
Step 5: Then return to the next menu, then select the Profiles that you created and imported earlier.

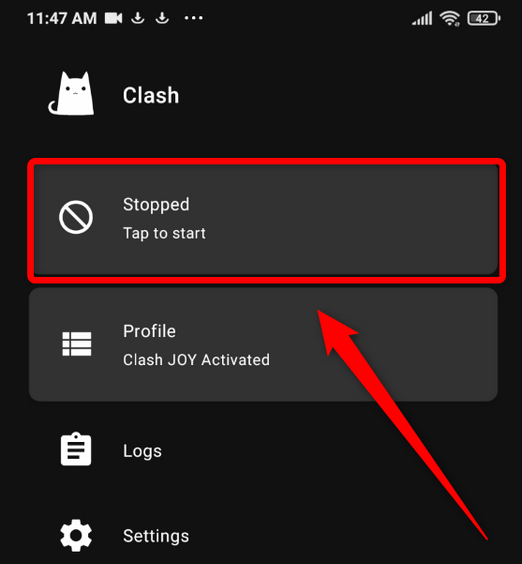
Step 6: After that connect your clash by clicking the top menu on clash.
Especially for those of you who choose MANUAL mode in making config, click Proxy and then select the account you want to use.
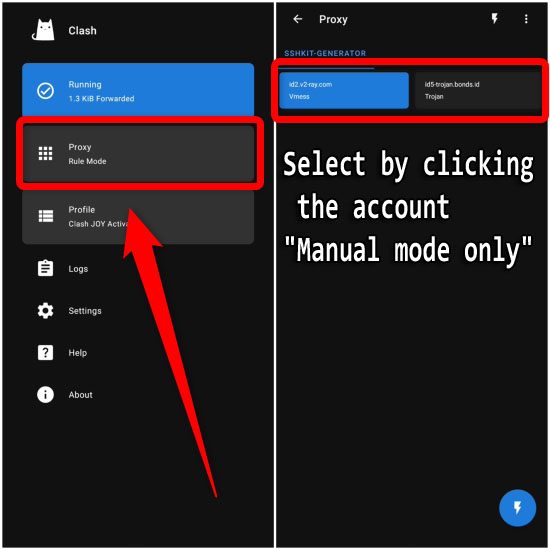
Done.